Photo Editor, Background Changer & Collage
Transform your photos effortlessly with our versatile editor. Use it as a background eraser and changer, blur photo backgrounds, and add captivating portrait beauty effects. Unleash your creativity with the best-in-class features!

Transform your photos effortlessly with our powerful editor, serving as both a photo background eraser and changer. Blur photo backgrounds and add stunning portrait beauty effects with just a few taps.
Background Eraser:
- Remove background with simple finger gestures.
- Replace it with amazing pics from nature, travel, color, frames, and more.
- Blur the background for an artistic touch.
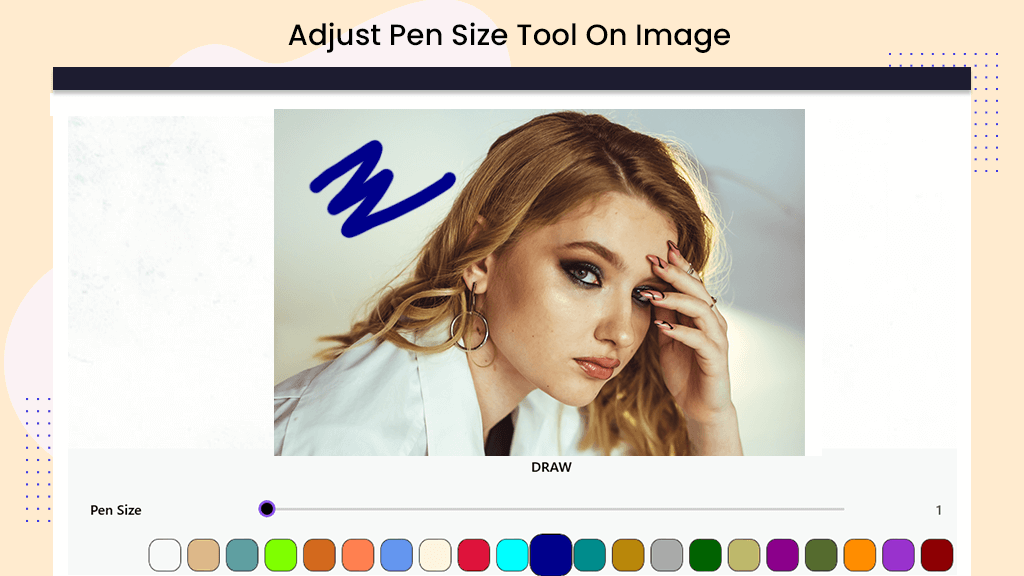
- Have fun experimenting with graffiti art in your photos!
Powerful Photo Editor:
- Abundant free editing tools for a personalized touch.
- Popular filters to add various effects.
- Multiple fonts for personalized text.
- RGB colors and professional color editing tools.
- Cool features like Mosaic, Wings, Neon, Halo, and Quote Text.
- Create exposure edits and mix photo layers effortlessly.
- Smart tools for quick flips and crops.
- Craft amazing photo collages with your favorite pictures.
Amazing Filters:
- Portrait, cartoon, art, movie, food filters, and more.
- Adjust brightness, contrast, saturation, hue, and warmth for perfection.
Background Cutout Template:
- Make professional artwork with one click using the cutout template.
- Easily create layers, collages, and photo frames.
Blur Background Photo Editor:
- Professional editing tools like blur, DSLR effects, crop, rotate, and portrait beauty effects.
- Achieve the perfect DSLR camera blur effect, combining portrait and beauty effects.
Cute Stickers:
- Enhance your editing fun with stickers.
- Add emoji, Neon, colorful light, and pop art stickers for cuteness.
- Place stickers of cool boys, pretty girls, wishes, and quotes.
- Festive stickers for Christmas, New Year, Valentine’s Day, and more.
Step 1: Launch Photo Editor, Background Changer & Collage application on your device to create amazing photos. Let the creativity flow!
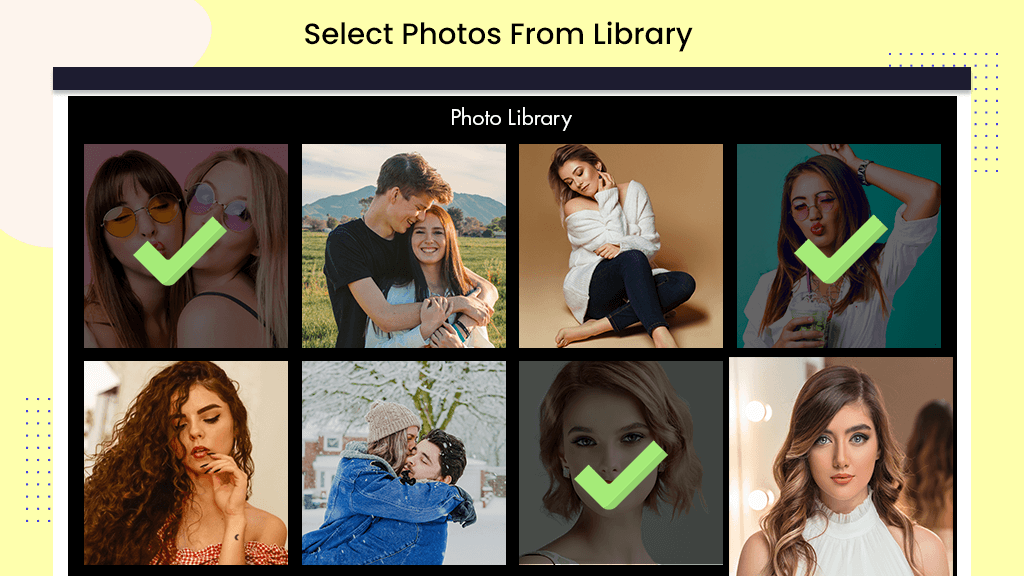
Step 2:- Dive into Creativity!
Once you launch the application, click on the Edit button and choose your photos from your gallery. Unleash the power of editing and let your creativity take center stage. Explore the myriad possibilities to turn your photos into stunning masterpieces!
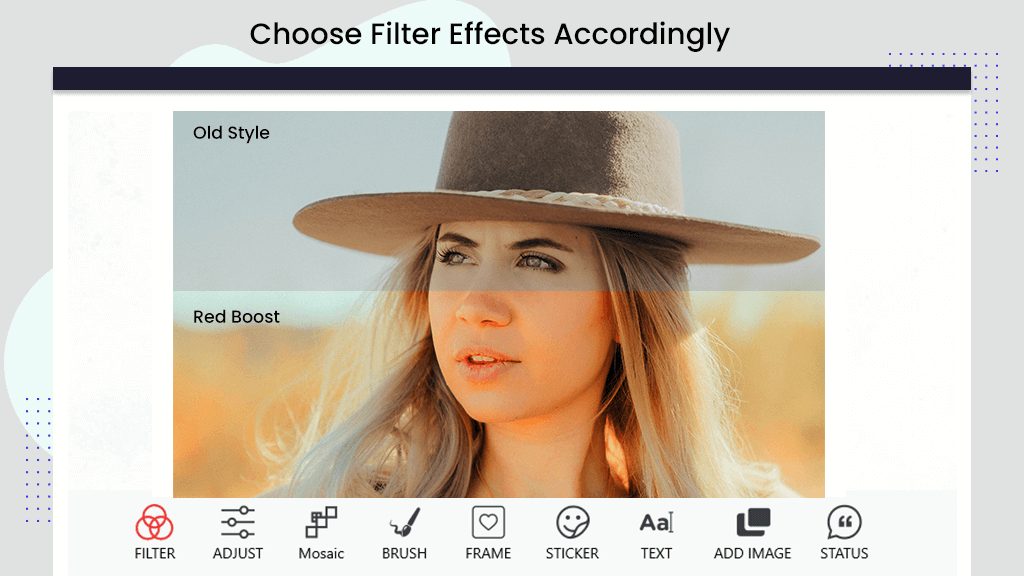
Step 3:- Unleash the Editing Magic!
After selecting photos from your gallery, discover an array of amazing photo editing tools that will elevate your images to the next level. Explore a multitude of incredible effects, filters, stickers, text options, and drawing tools. Let your creativity run wild and transform your photos into truly amazing works of art!
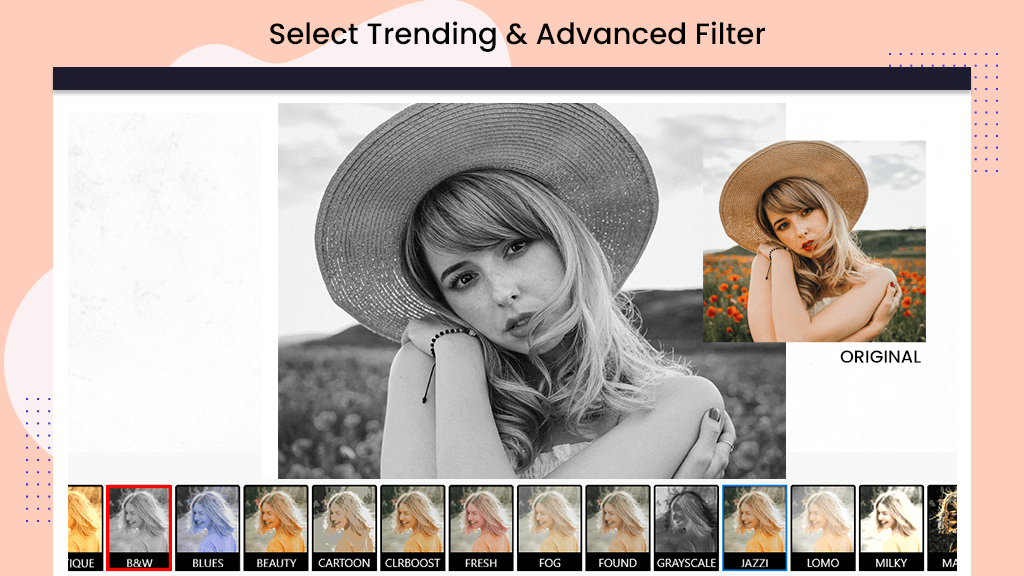
Step 4:- Elevate with Filters!
Once you’ve completed your edits, dive into even more amazing tools. Click on the filter button and choose the perfect filter effect for your photo. Explore a variety of filters that will add the finishing touch to your masterpiece, giving it the perfect mood and style. Enhance the visual appeal and make your photo truly stand out!
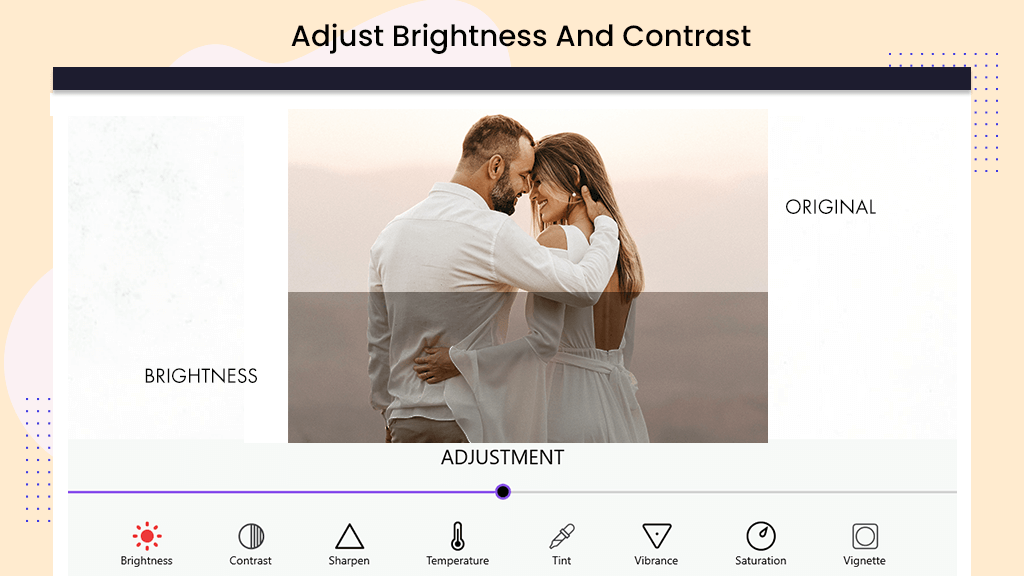
Step 5:- Perfecting with Adjustments!
Click on the Adjustment button to fine-tune your photo to perfection. Add brightness, contrast, sharpening, adjust temperature, tint, vibrance, saturation, and vignette to enhance every detail. Achieve the ideal balance and make your photo truly captivating. Let the Adjustment tools elevate your image to its full potential!
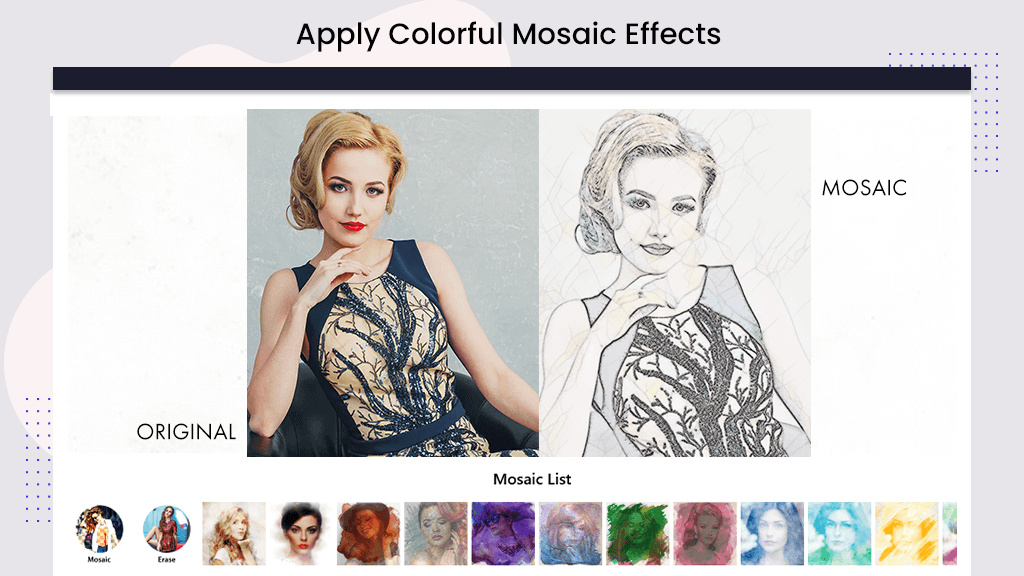
Step 6:- Unleash Your Artistic Side with Mosaic!
Click on the Mosaic button to add captivating mosaic and blur effects to your photo. Explore a variety of cool mosaic and overlay effects. Choose any effect and start drawing on your photo – the draw area transforms as you create!
Let your creativity shine as you craft a cool and unique look for your photo. Showcase your artwork to your friends and circle and leave them impressed with your artistic flair!
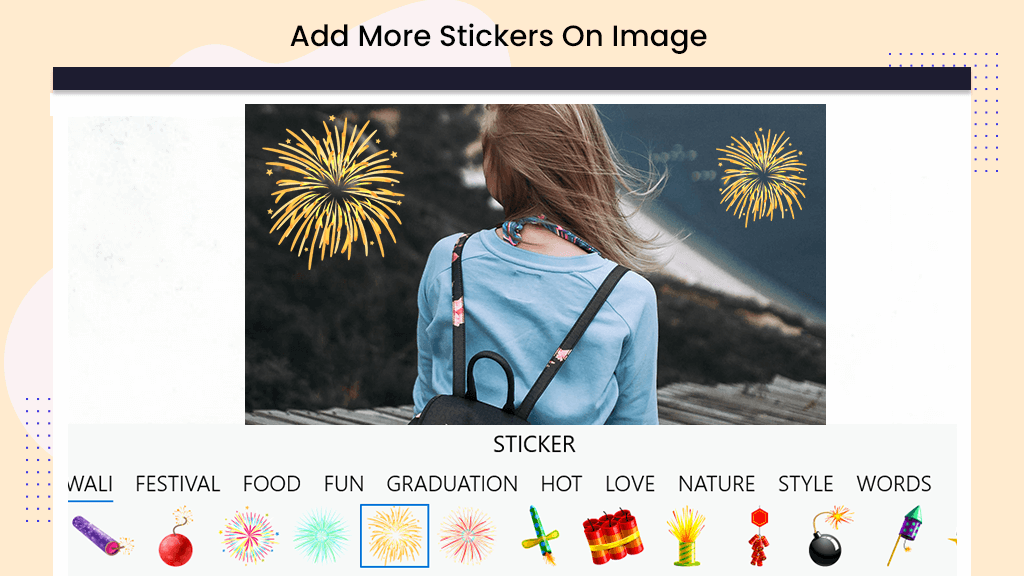
Step 7:- Fun and Frolic with Stickers!
Click on the Stickers button to infuse your photo with cool and funny stickers. Explore a myriad of sticker categories, each offering a different theme and style. Choose from a variety of options and let your photo come to life with an extra dash of fun and creativity!
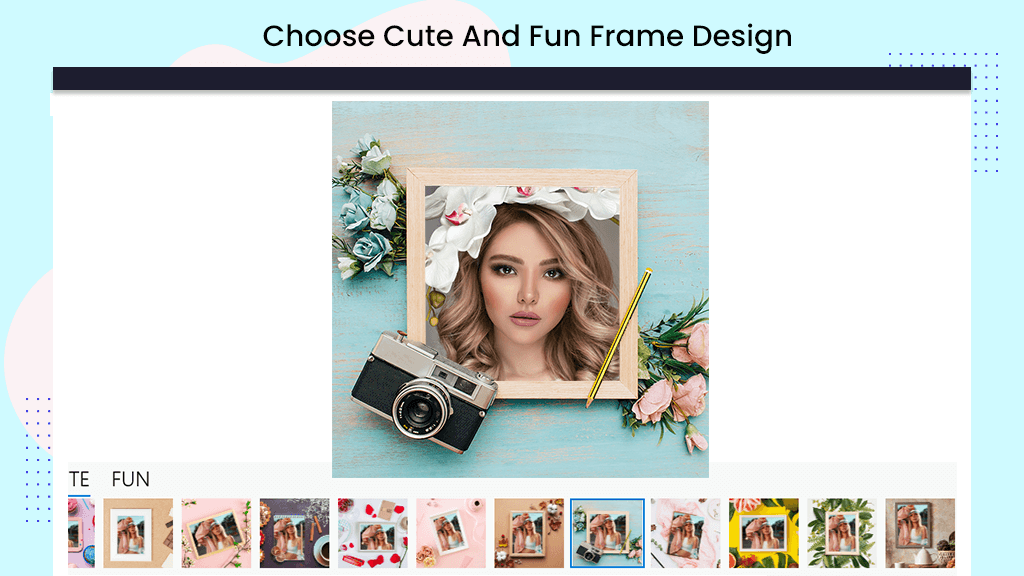
Step 8:- Framing the Finale!
Click on the Frame button to add a stunning frame to your photo. Explore numerous categories of amazing frames. Choose the perfect frame that complements your photo, enhancing its overall look and feel. Click on the frame button and watch as your photo transforms into a visually striking masterpiece!
Step 9:- Double the Fun with Stickers!
Revisit the Stickers button for an extra dose of cool and funny elements on your photo. Explore diverse sticker categories to choose from. Select the perfect stickers to suit your mood and style, doubling the fun and adding an extra layer of creativity to your masterpiece!
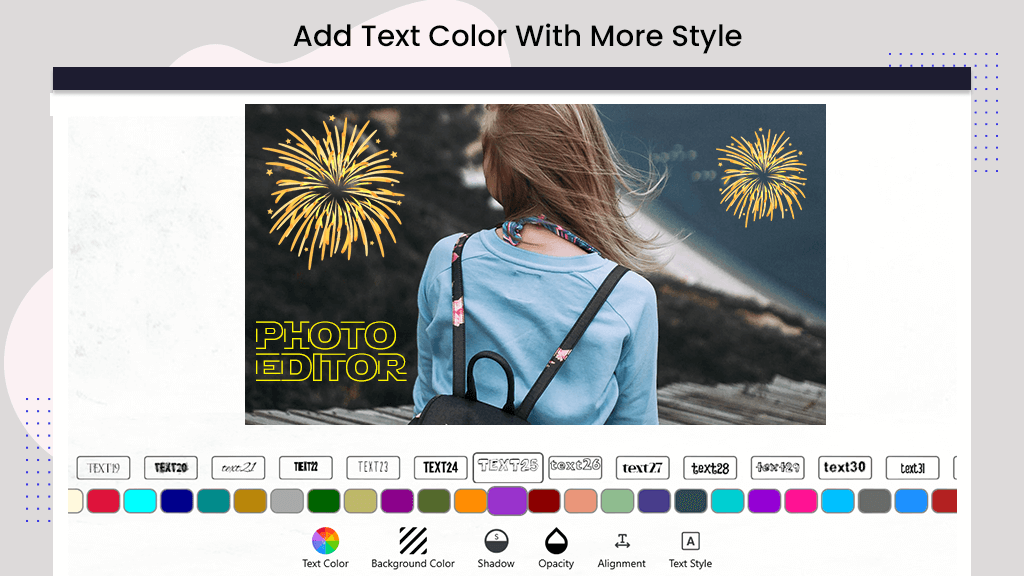
Step 10:- Personalize with Text and Style!
Now, let’s add some expressive text to your photo. Click on the Text button, write your text in the designated area, and click on the Yes button to confirm. Adjust the text placement to your liking.
Further enhance your text:
- Click on the Text Color button to choose your preferred text color.
- Use the Background button to select a background color for your text.
- Add depth by clicking on the Shadow button and applying a text shadow.
- Adjust the opacity of your text with the Opacity button.
- Set the text alignment with the Alignment button.
- Explore amazing text styles by clicking on the Text Style button.
Personalize your photo with the perfect text, bringing your vision to life in a stylish and creative way!
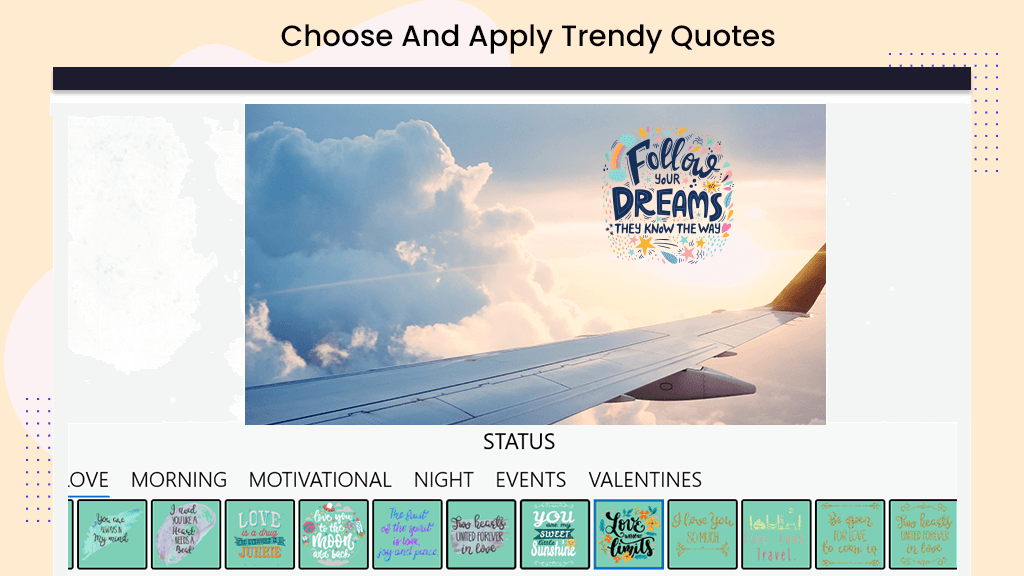
Step 11:- Express Yourself with Status Stickers!
Click on the Status button to infuse your photo with cool status stickers. Explore various categories to find the perfect status that suits your mood. Choose from an array of options and add a touch of expression to your photo. Let your photo tell a story with the perfect status sticker!
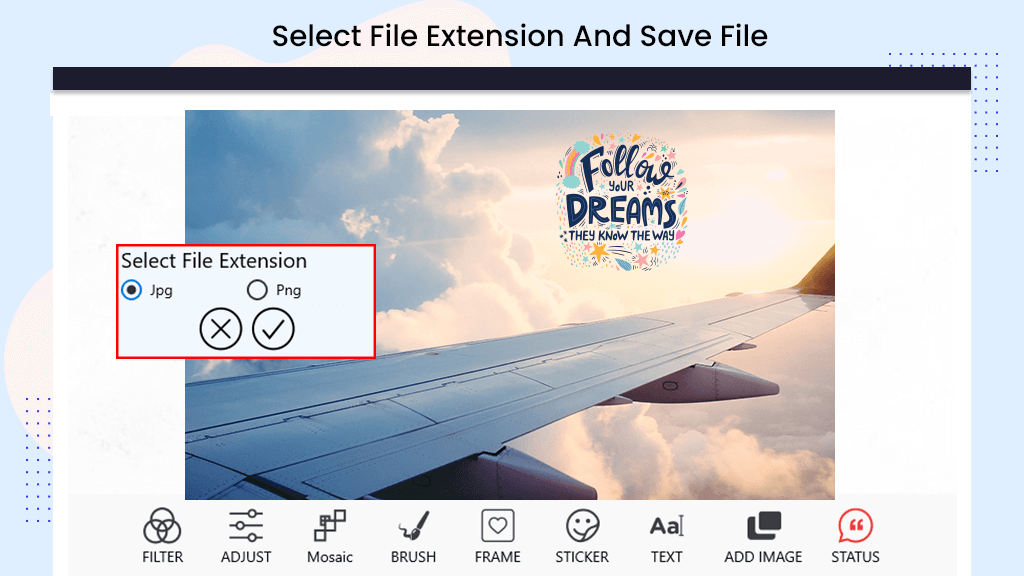
Step 12:- Save Your Masterpiece!
Once you’ve completed your photo masterpiece, click on the save button. Choose your preferred output extension – you have the option to save your image in JPG or PNG format. Pick the file extension that best suits your needs and watch as your edited photo is saved and ready to be shared or cherished!
Step 13:- Preserve Your Creation!
Once you’re satisfied with your edits, click on the save button to secure your photo in your device’s storage. Your masterpiece is now saved and ready to be shared, cherished, or even showcased to your friends and family. Congratulations on creating a visually stunning and personalized image!